Content
The Content page is where your projects, datasets and templates live. Everything you can reach is organised into spaces — your own, your teams', and your organisation's — so content belongs to a space rather than to you personally, and stays where it is when people join or leave.
From the Content page you can:
- Browse everything in a space, in folders you organise yourself
- See what other people have shared with you, and what you opened recently
- Share, move, rename, transfer or delete the content you are responsible for
- Restore anything you deleted by mistake
Spaces
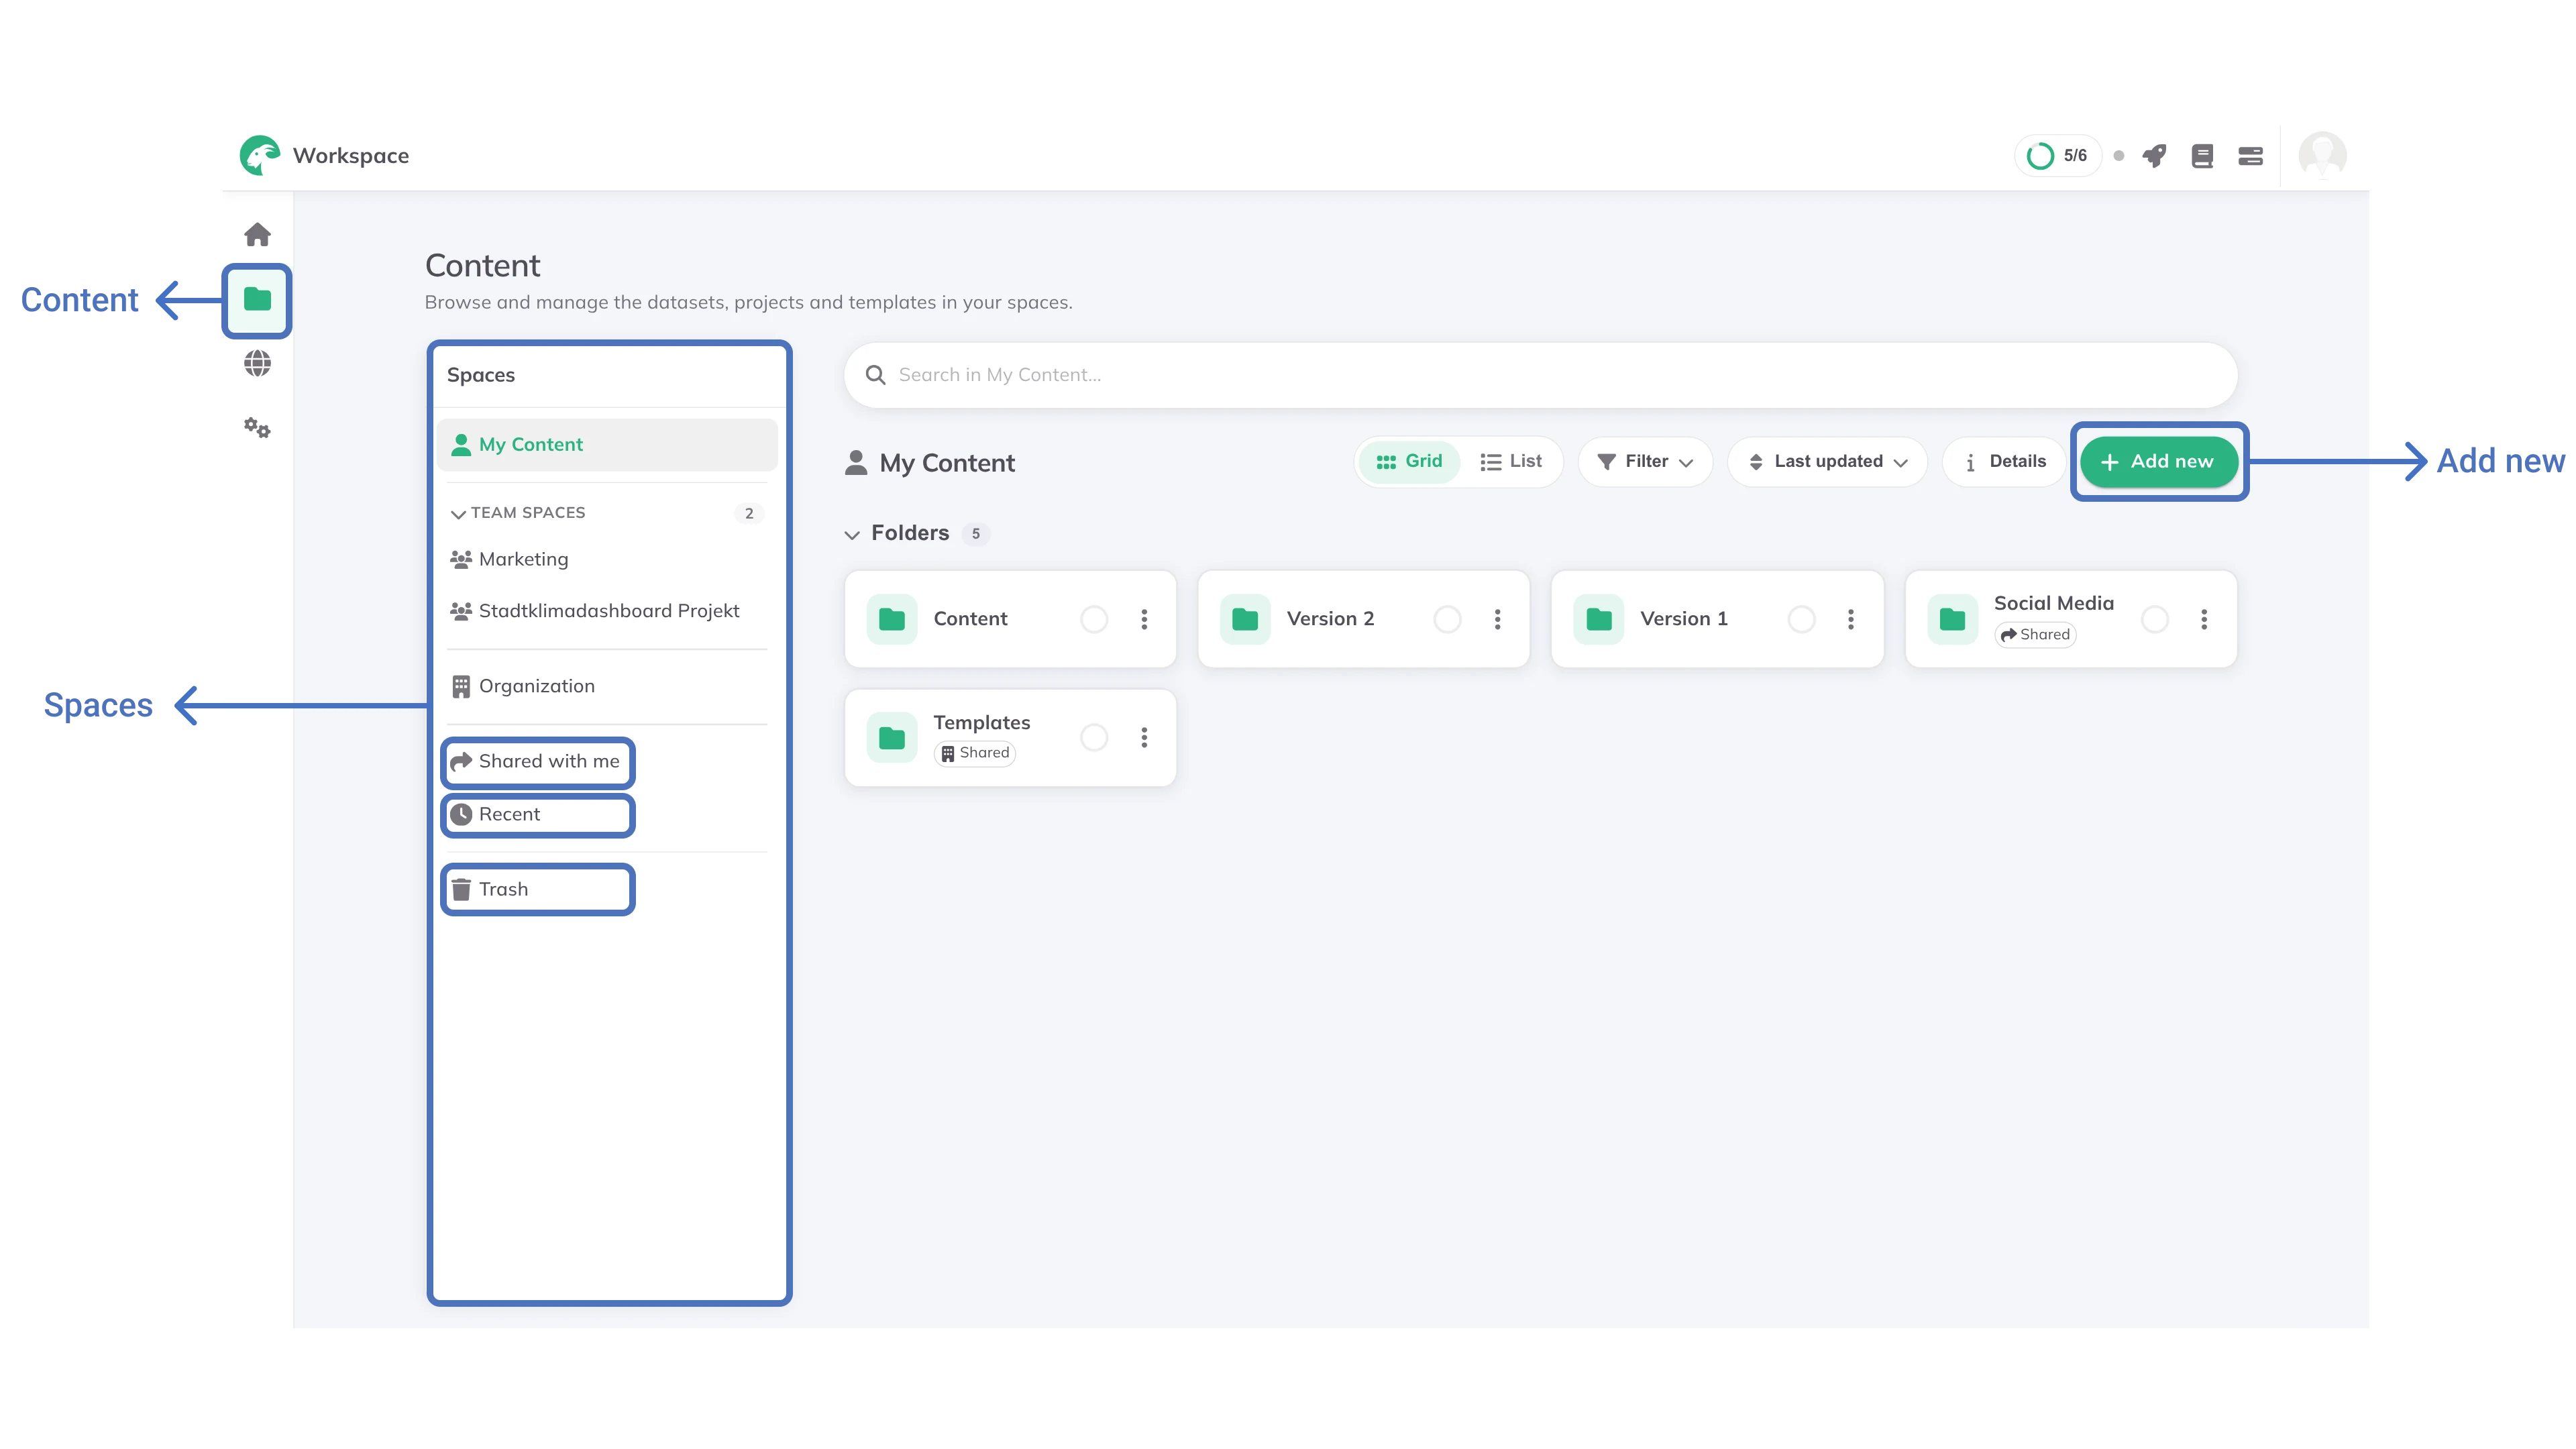
The panel on the left lists the spaces you can reach:
- My Content — your personal space. Content you create lands here unless you put it somewhere else.
- Team spaces — one per team you belong to. Everyone in the team can reach what the space holds.
- Organization — shared across your whole organisation.
Below the spaces are three views that cut across all of them:
- Shared with me — everything other people have shared with you, gathered in one place
- Recent — what you have opened lately, across every space you can reach
- Trash — content you deleted, until it is purged
Selecting a space shows what it holds. Within a space, Folders group content however suits you.
Finding your way around
The toolbar above the content offers:
- Search within the space you are in
- Grid or List view
- Filter by content type
- Sort, by
Last updatedand other options - Details, which opens a panel describing the selected item
- Add new, to create a project, upload a dataset or add a folder
Managing content
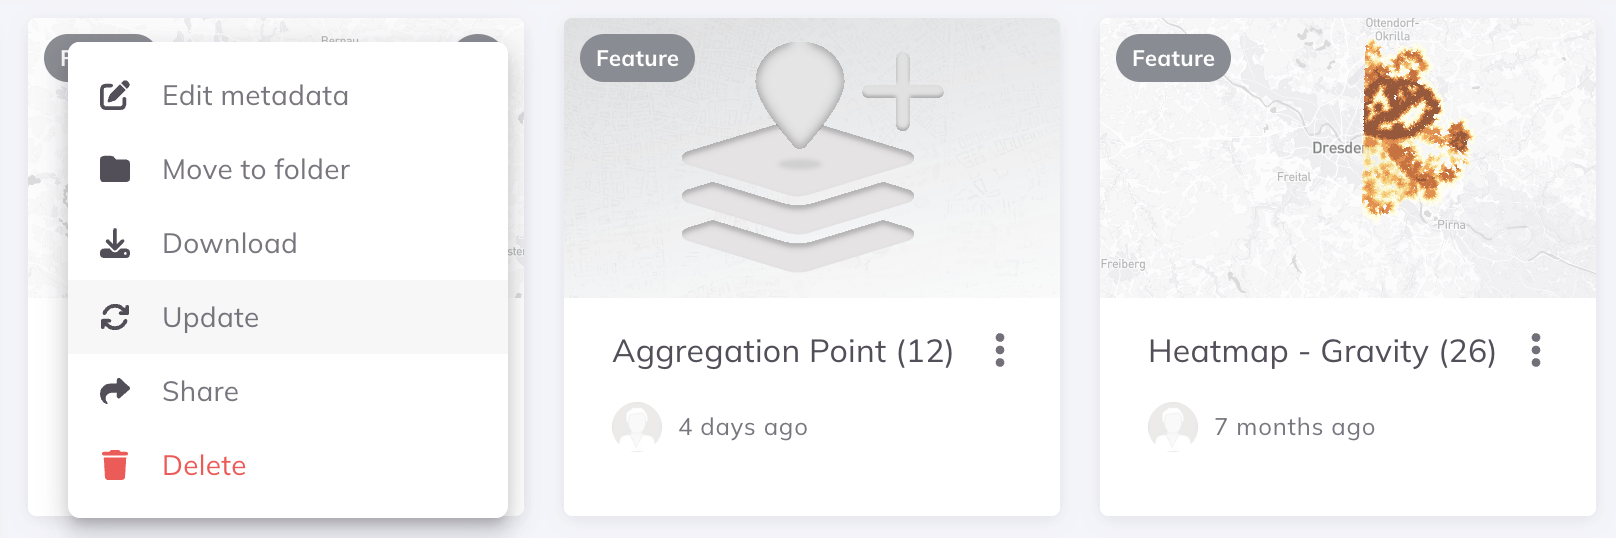
Select an item — or several — to act on them. The kebab menu on a card and the action bar offer:
| Action | What it does |
|---|---|
| Share | Gives other people access. You stay the owner. |
| Move | Puts the item in a different folder. |
| Rename | Changes its name. |
| Transfer Ownership | Hands the item to someone else, permanently. |
| Delete | Sends it to the Trash. |
Sharing and transferring are different
Sharing grants access while you remain the owner — useful when colleagues need to see or edit something that is still yours to look after.
Transferring ownership moves the item into someone else's space for good. Reach for it when a project genuinely changes hands, for example when you hand a piece of work over before leaving a team.
An item shows its audience — private, shared with named people, shared with a team or organisation, or public. Folders and bundles can be shared with teams and the organisation.
Trash and restore
Deleting content does not remove it straight away: it goes to the Trash, where the owner can Restore it. Content stays there until it is purged, so a delete made in error is recoverable.
Adding content
Use Add new on the Content page to create a project, upload a dataset or add a folder. A project can also be started from the Home page.
Creating a project
Follow these simple steps to create a new project:
Content page from the sidebar.Add new and choose a project option.Fill in the required information:
- Project Title - Give your project a descriptive name
- Project Folder - Choose or create a folder to organize your project
- Description (optional) - Add details about your project's purpose
Create button to finalize your new project.Importing a project
You can import a previously exported GOAT project file:
Add new and choose a project option.Import to upload an existing project file.Import to finish.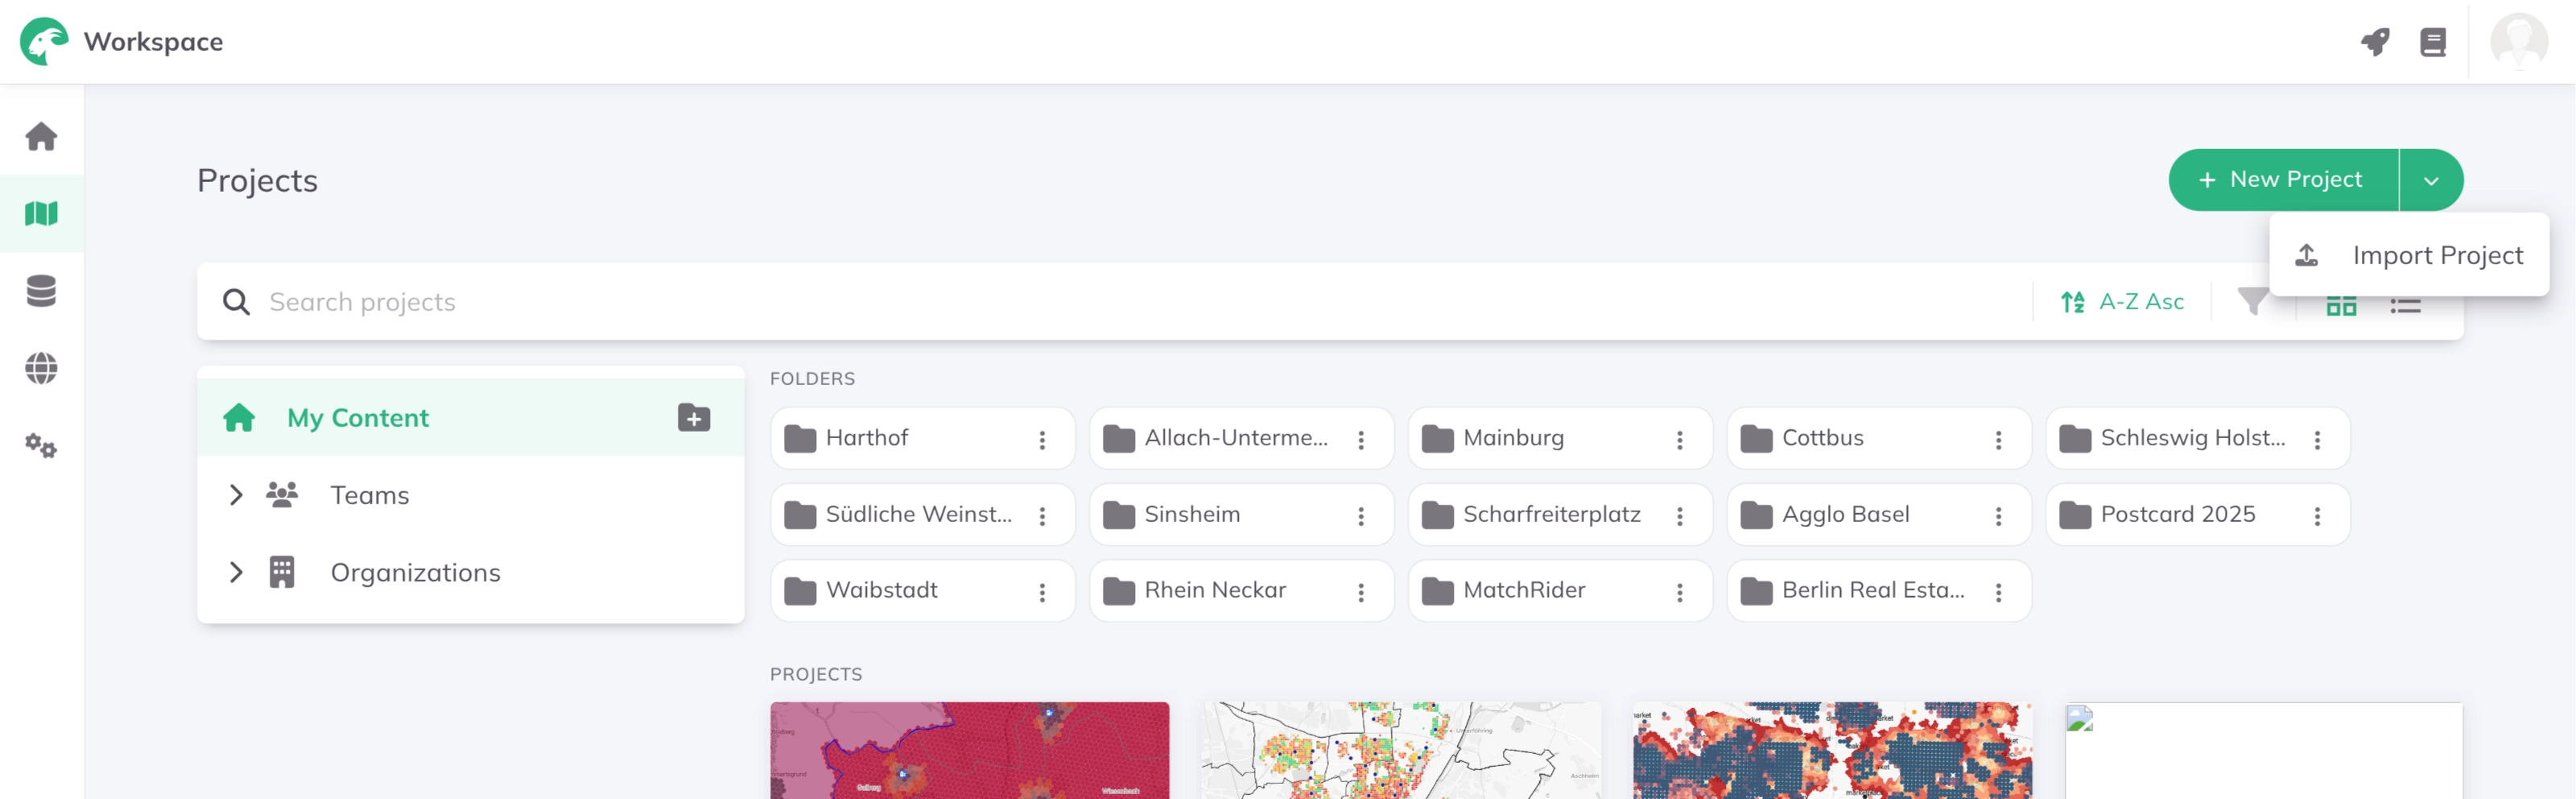
Uploading a dataset
GOAT supports multiple file formats for upload: GeoPackage, GeoJSON, Shapefile, KML, CSV, XLSX, ZIP, Parquet, and COG files, as well as GTFS (gtfs.zip) archives for Public Transport Networks and Overture (overture.zip) archives for Street Networks.
Content page from the sidebar.Add new and select Dataset.Next.Worksheet— For XLSX files with multiple sheets, select which sheet to import.First row is header— Toggle on (default) if your file's first row contains column names. Toggle off if the first row is data — column names will be auto-generated and you can rename them later in the layer settings.
Next when ready.- Destination Folder — Choose where to organize your dataset
- Name — Give your dataset a descriptive name
- Description (optional) — Add details about your dataset's content and purpose
Next.Upload to add the dataset to your workspace.Connecting to an external source
Connect to external data services including Web Feature Service (WFS), Web Map Service (WMS), Web Map Tile Service (WMTS), XYZ Tiles, and Cloud Optimized GeoTIFF (COG).
Content page from the sidebar.Add new and select Dataset, then choose the external-source option.Next.Configure your dataset:
- Destination Folder - Choose where to organize your dataset
- Name - Give your dataset a descriptive name
- Description (optional) - Add details about the external data source
Save to add the external dataset.You can also upload datasets directly while working in the Map interface for immediate use in your projects.
Working with a dataset
Downloading a dataset
When downloading a spatial dataset, a dialog lets you choose:
- Download Type — the export file format (e.g. GeoPackage, GeoJSON, Shapefile).
- Coordinate Reference System (CRS) — the CRS to reproject the data into before download. GOAT automatically suggests CRS options based on the dataset's geographic extent: global options (WGS 84, Web Mercator) are always available, plus the matching UTM zone and any relevant national or regional CRS. The default is WGS 84 (EPSG:4326).
Dataset metadata and preview
View detailed information about your datasets to better understand their content and structure. Access metadata by clicking directly on the dataset name.
The metadata view provides:
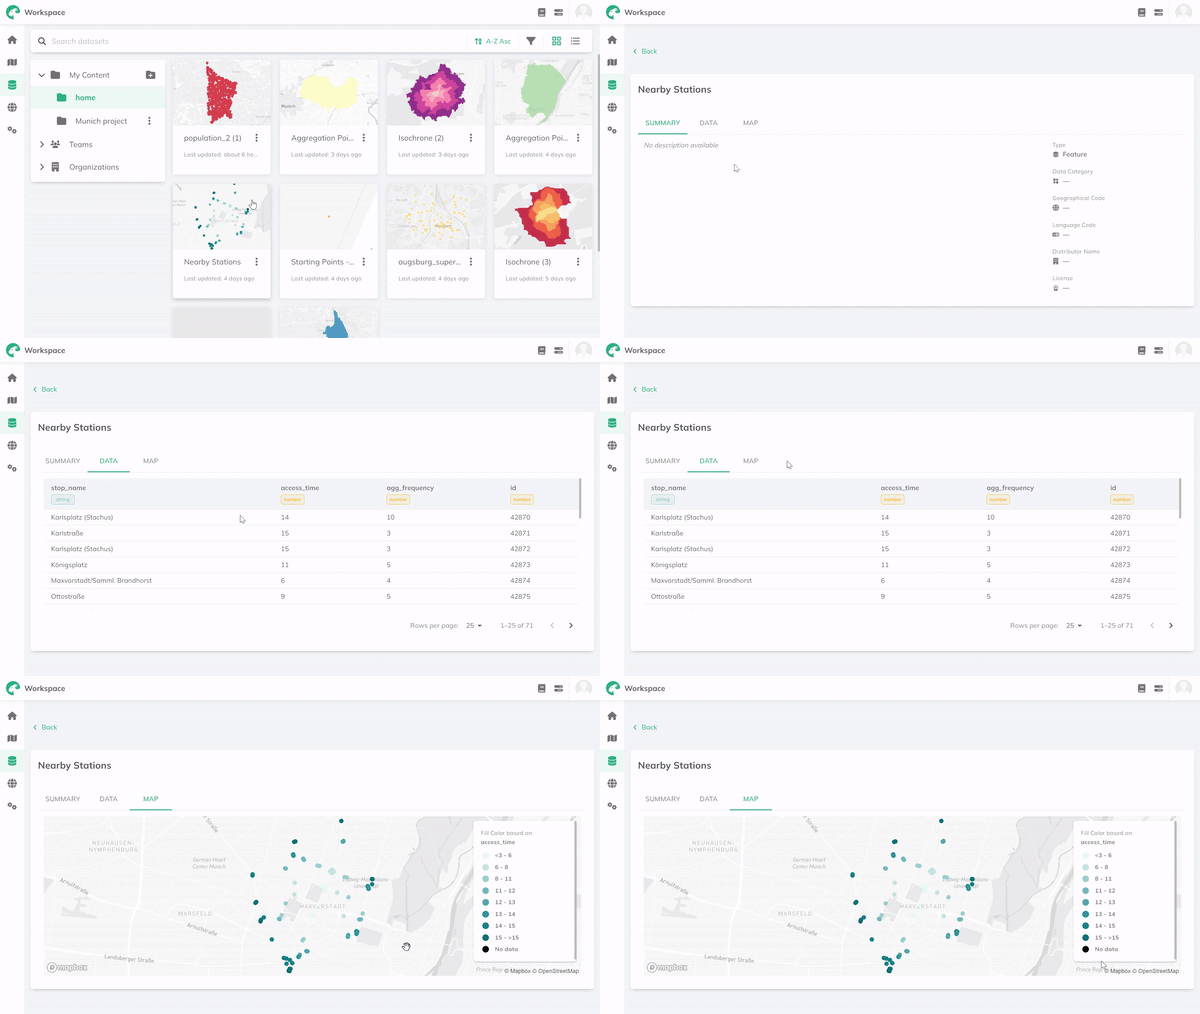
Summary- Overview of dataset properties and statisticsData- Detailed view of all data fields and valuesMap- Spatial visualization with interactive legend