Dashboard Interface
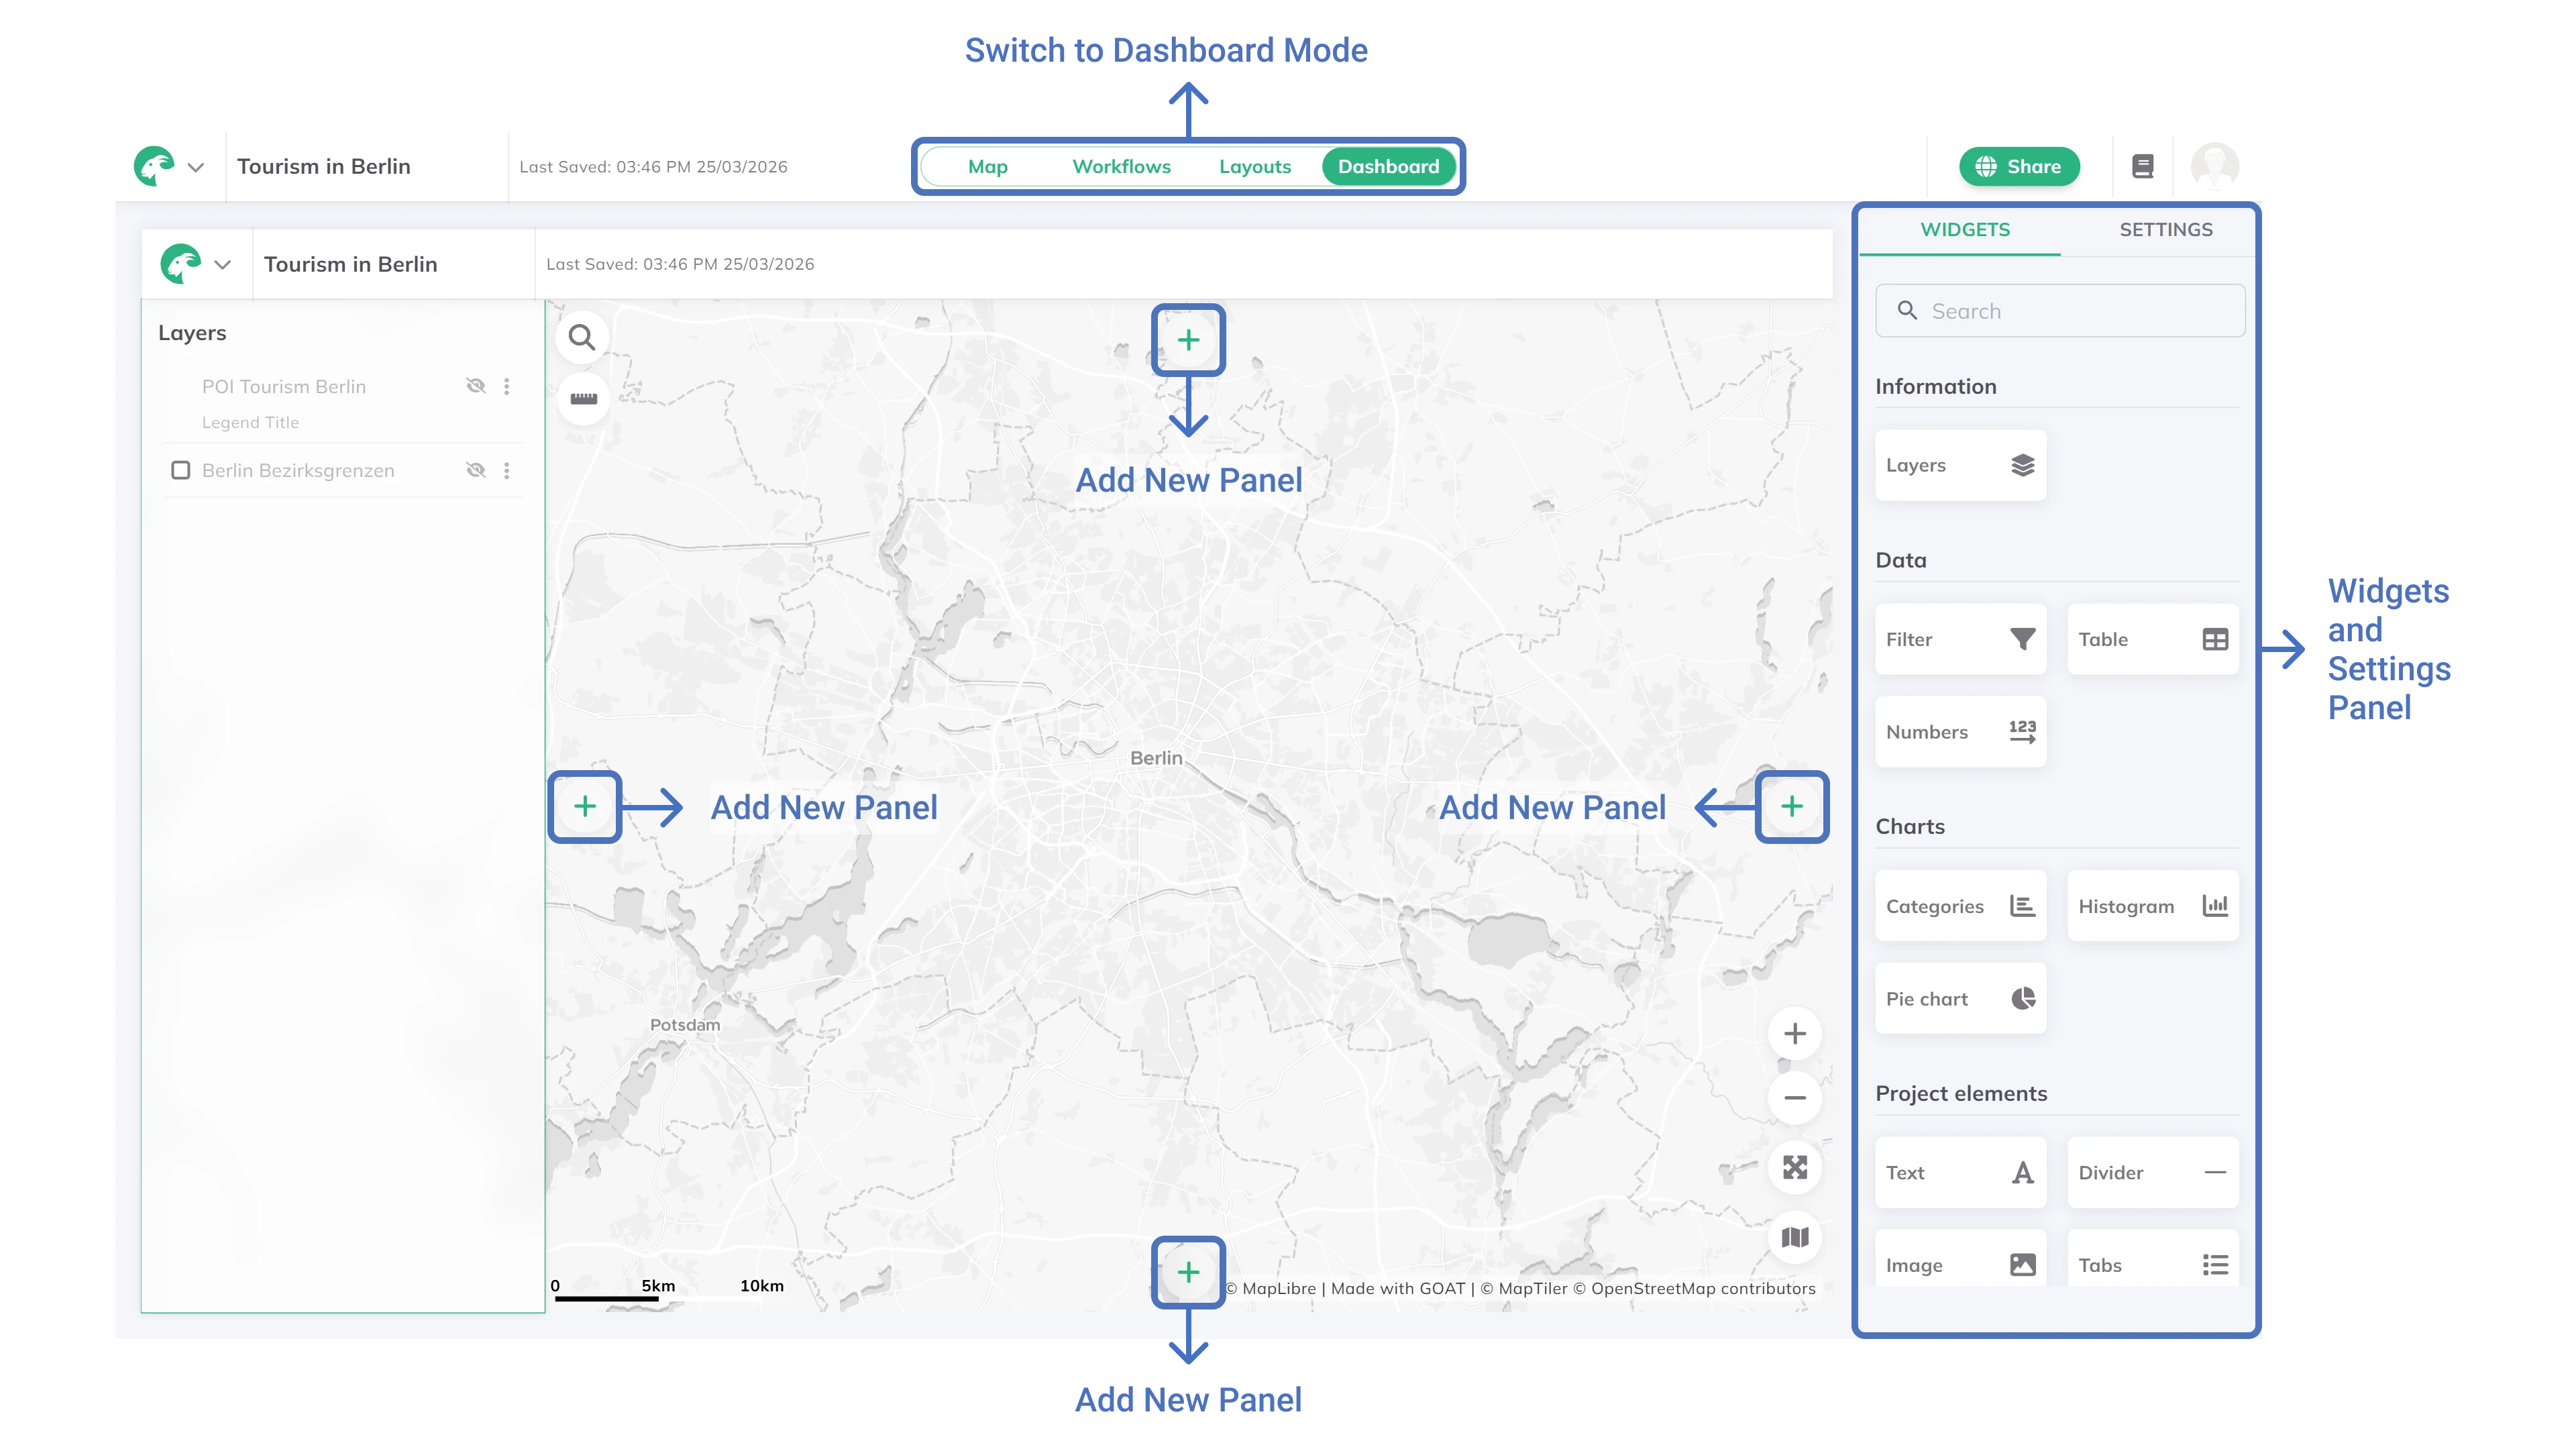
Switching to Dashboard mode opens the Dashboard Interface, where you can design dashboards by arranging panels and widgets, and customize your workspace layout.
Map controls
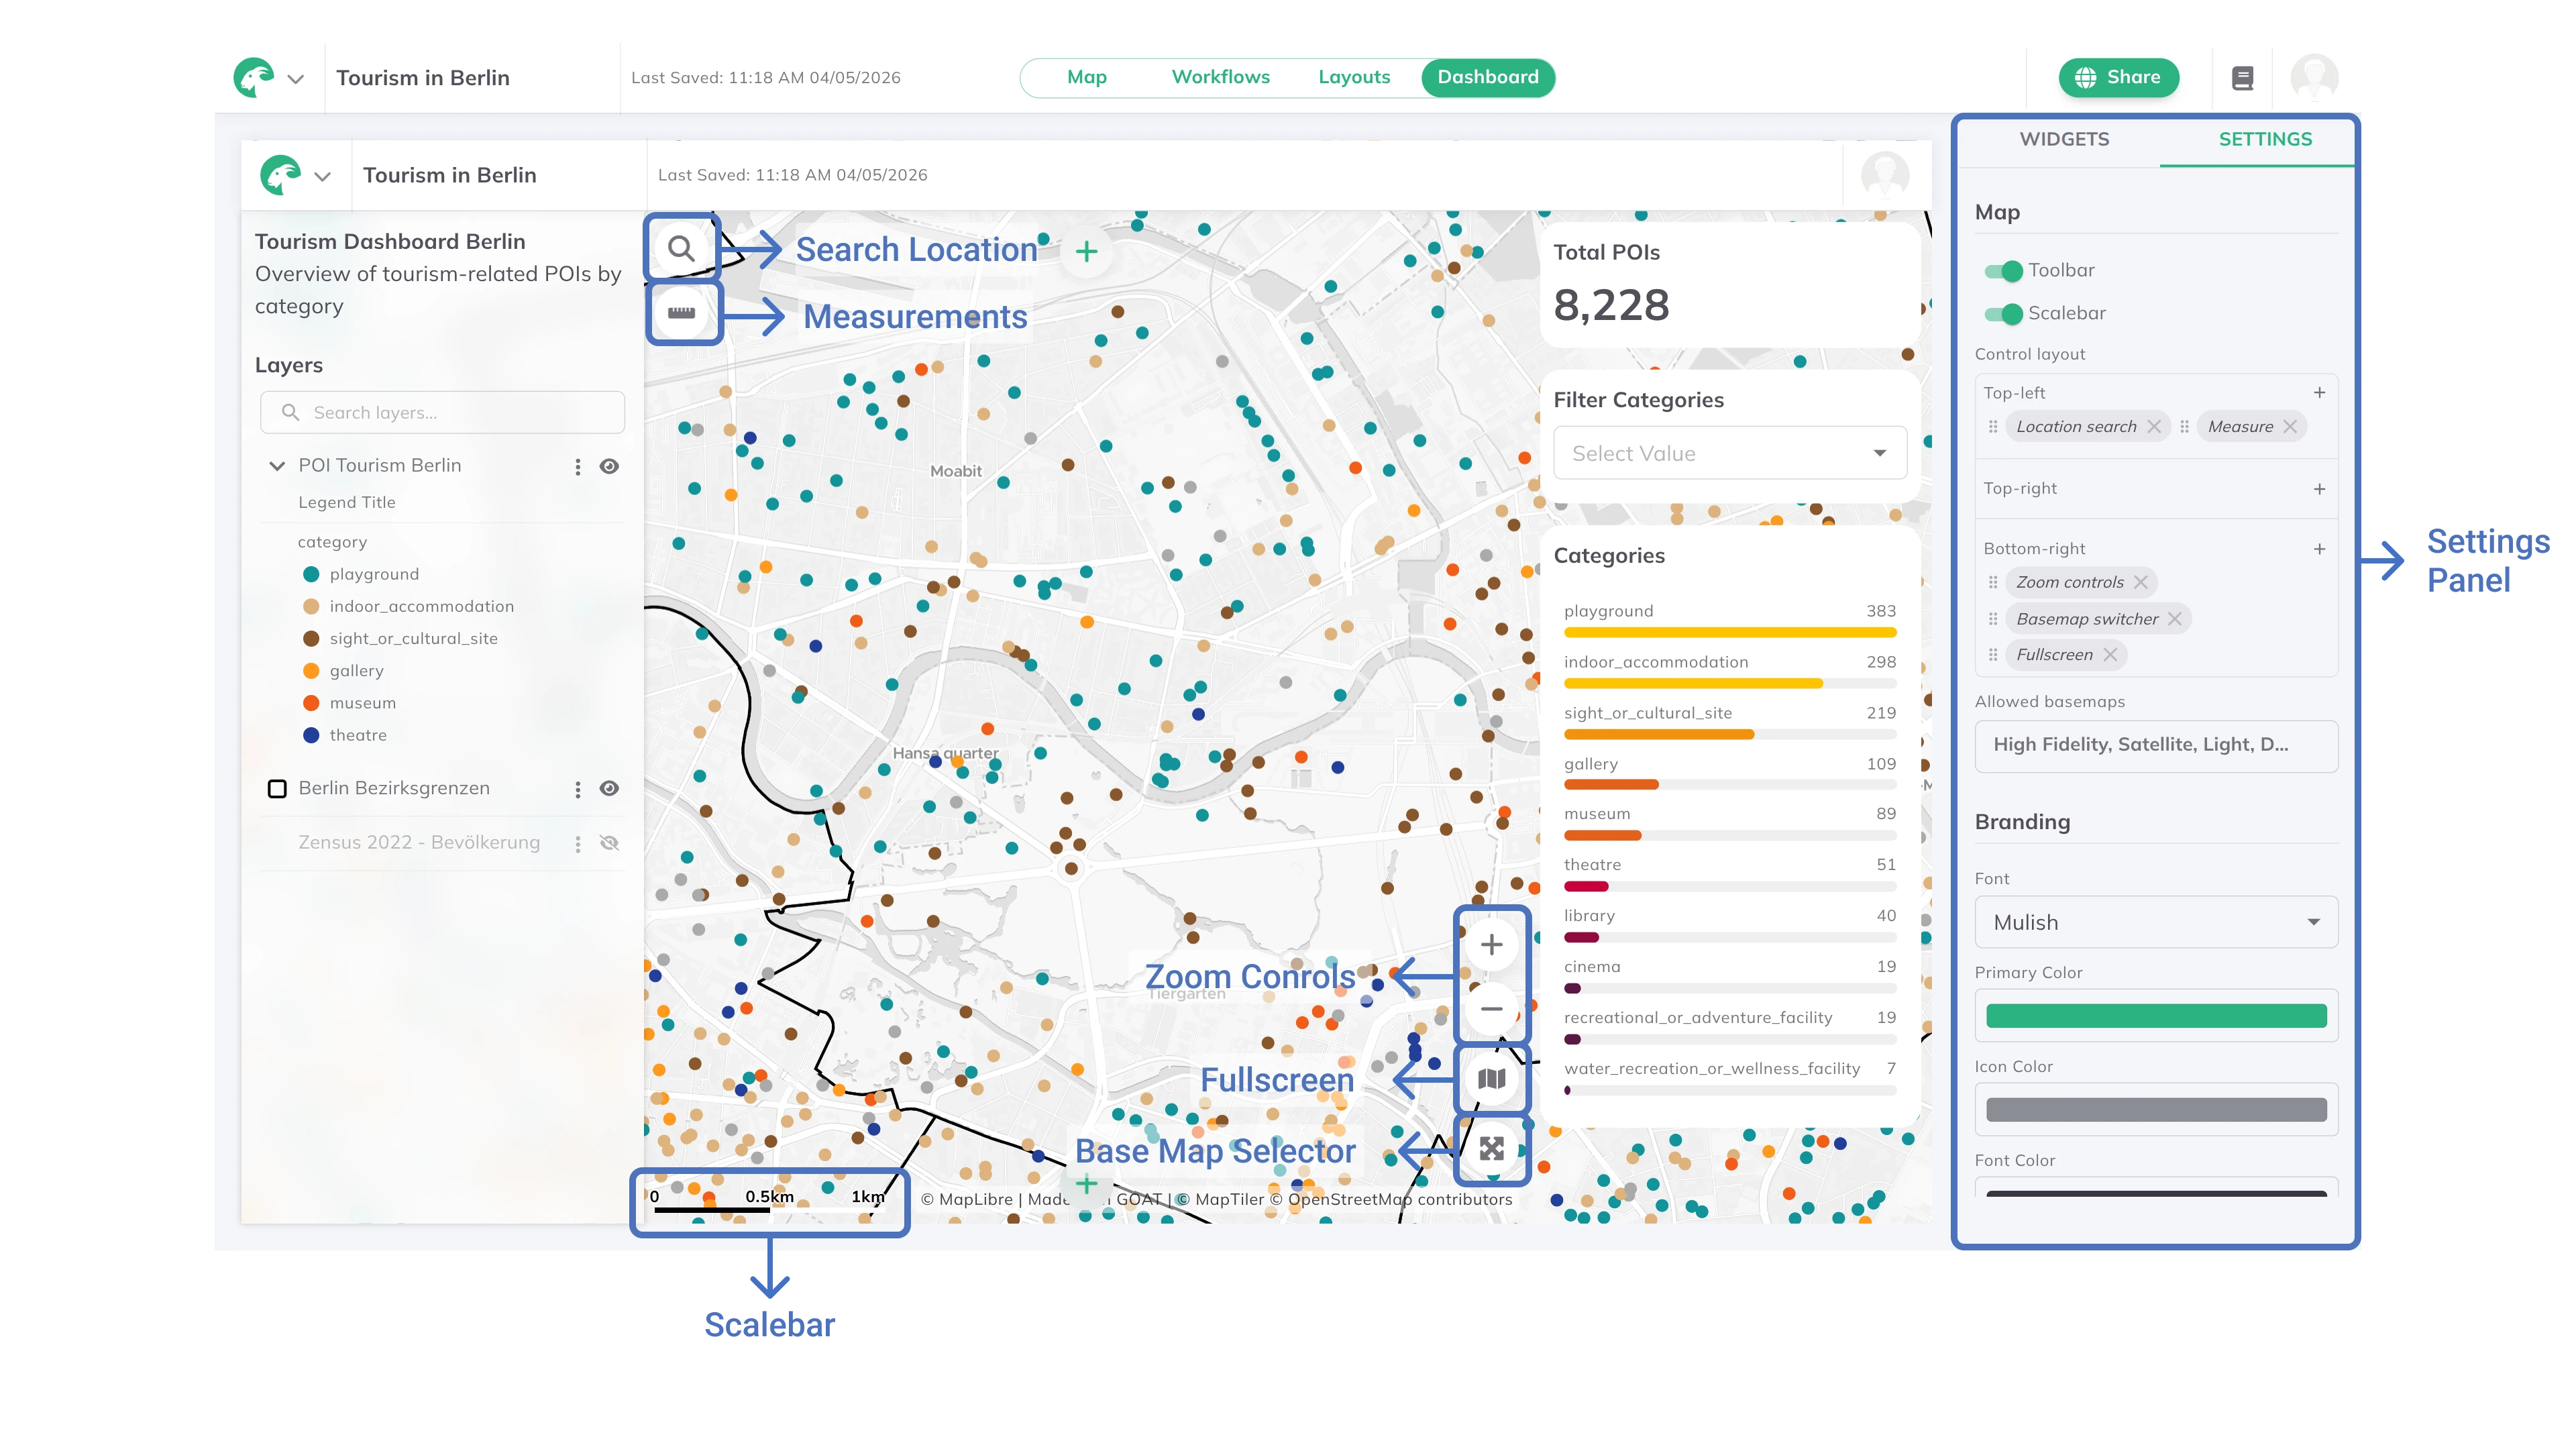
The following controls are available on the dashboard map. Their position can be configured in Settings.
- Location search: search for an address or place and pan the map to it
- Zoom controls: zoom in and out buttons
- Basemaps: switch between available basemaps. See Basemaps
- Measurements: measure distances, areas, and routes directly on the map. See Measurements
Panels
Panels are the main areas where you organize your widgets. You can add, arrange, and style panels to create your dashboard layout.
+ button, to add a new panel to any side of the map.panel to open settings and edit its appearance.arrow on the side of a panel to expand it to full height/width.Under Options you can set:
Panel style:Default,Rounded, orFloatingCollapsible panel: enable to let viewers collapse the panel in Viewer mode
Under Appearance you can change:
Background color: set the panel background colorOpacity(0 = transparent, 1 = opaque)-
Background blur -
Shadow
Under Position you can set:
Align items: Start, Center, or EndSpacing: distance between widgetsPadding: inner spacing around the panel content
Under Size you can set:
Width (px): fixed width of the panel in pixels
To delete a panel, click Delete Panel at the bottom of the settings.
Widgets
Widgets are the building blocks of your dashboard. They let you display data, statistics, charts, and project elements, like text or images. Each widget is highly customizable: you can adjust its content, appearance, and behavior to fit your needs, whether you want to highlight key numbers, visualize trends, or add context with text and graphics.
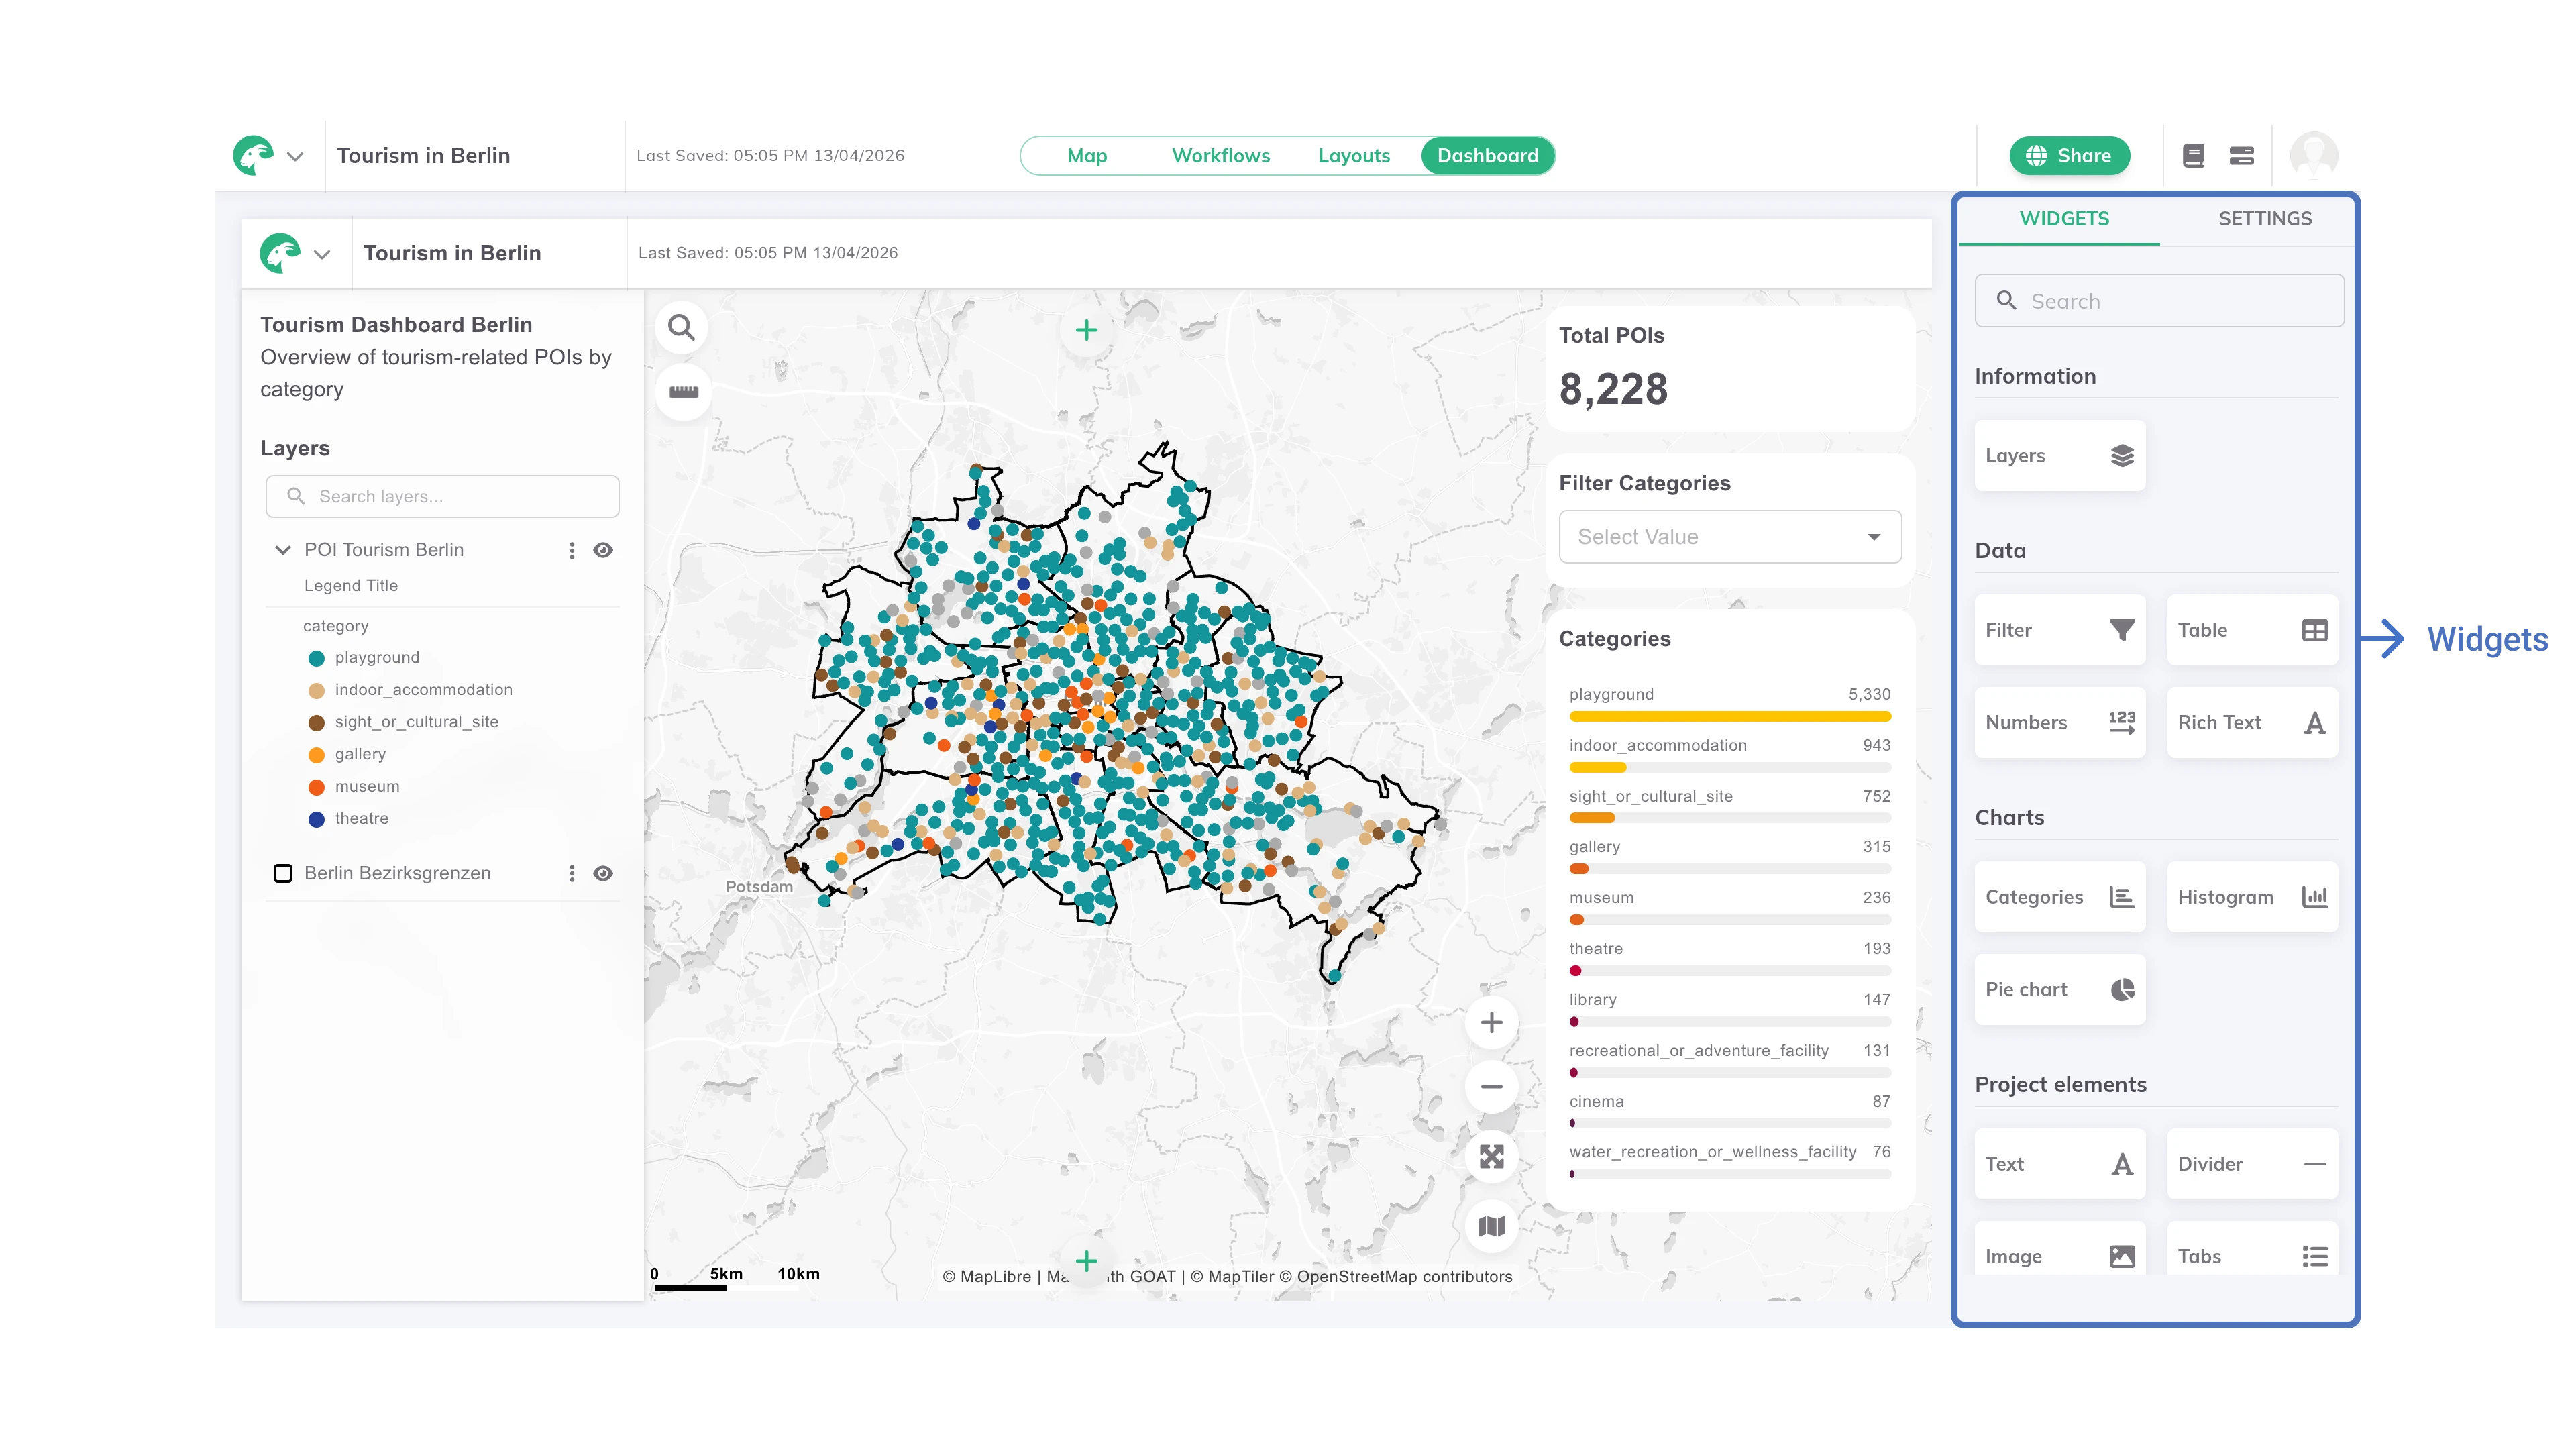
widgets from the right sidebar to any panel on your dashboard.widget to customize its settings.dotted icon.delete icon to remove the widget from your dashboard.Title, which will appear on the top of the widget, and the Description, which will appear on the bottom of the widget.For more details, see Widgets.
Settings
In the settings you can configure the Map controls, Branding, Social sharing, General options, and Interactions for your dashboard. See Settings for more details.